一,下载地址:
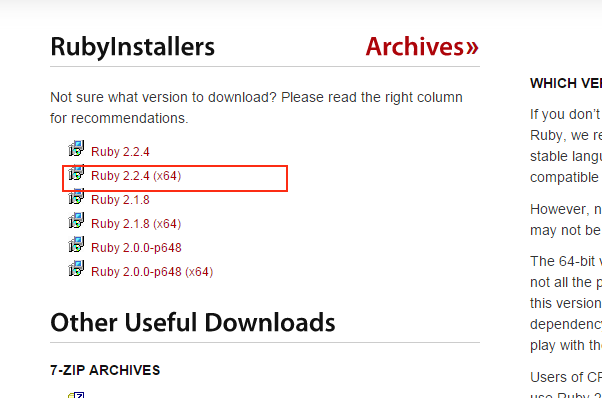
ruby: http://rubyinstaller.org/downloads/
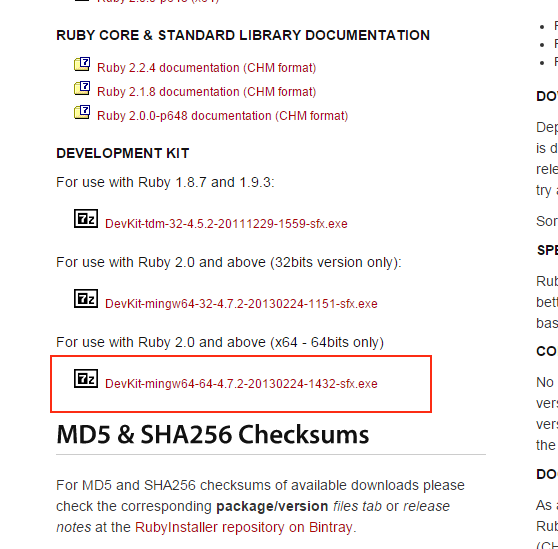
我是64位操作系统,下载以下两个文件


二,安装配置:
2.1安装:ruby
很简单直接下一步,下一步就行,主要一下安装目录就可以
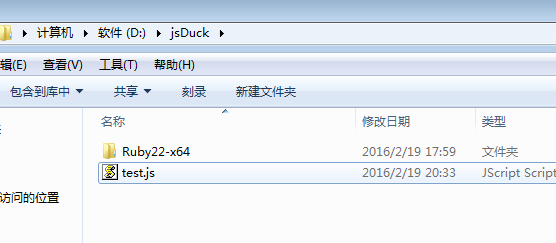
我的安装路径为:D:\jsDuck\Ruby22-x64
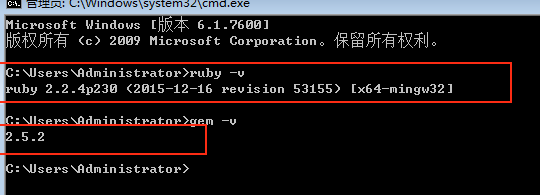
打开 cmd 输入 ruby -v , gem -v,出现下面的信息代表成功

安装DevKit
将DevKit-mingw64-64-4.7.2-20130224-1432-sfx 解压到,路径为
D:\DevKit
2.2 修改下载镜像
https://rubygems.org/ 是被和谐的, 所以要修改下载源, 修改淘宝提供的镜像
依次输入如下3条命令:
D:\DevKit>gem sources --remove https://rubygems.org/
D:\DevKit>gem sources -a https://ruby.taobao.org/
D:\DevKit>gem sources -l
2.3 输入一堆命令
更新ruby和gems系统:
D:\DevKit>gem update --system
安装rspec组件"
D:\DevKit>gem install rspec
安装httparty组件
D:\DevKit>gem install httparty
安装wdm组件
D:\DevKit>gem install wdm
2.4安装DevKit
打开cmd.exe, CD到D:/DevKit-64, 依次输入如下命令:
D:\DevKit>ruby dk.rb init (这个命令是生成文件config.yml)
D:\DevKit>ruby dk.rb review (会显示配置文件信息)
2.5 修改配置
打开 D:\DevKit\config.yml,修改红色部分,(这里的路径就是对应你的Ruby的安装路径了, 而且要注意格式)
# This configuration file contains the absolute path locations of all
# installed Rubies to be enhanced to work with the DevKit. This config
# file is generated by the 'ruby dk.rb init' step and may be modified
# before running the 'ruby dk.rb install' step. To include any installed
# Rubies that were not automagically discovered, simply add a line below
# the triple hyphens with the absolute path to the Ruby root directory.
#
# Example:
#
# ---
# - C:/ruby19trunk
# - C:/ruby192dev
#
---
- D:/jsDuck/Ruby22-x64
- D:/jsDuck/Ruby22-x64
2.6 继续执行命令,安装DevKit和cucumber插件
D:\DevKit>ruby dk.rb install
D:\DevKit>gem install cucumber
三,安装插件:
3.1安装 rdiscount
D:\DevKit>gem install rdiscount
3.2安装 jsduck
D:\DevKit>gem install jsduck
三,试试效果:
假设现在 有文件 D:\jsduck\user.js 如下

在命名行输入 D:\jsDuck>jsduck test.js -o output;
test.js : js文件路径;
output : 放的文件夹的路径;

生成文件夹 output (没有这个文件夹会直接生成)

打开文档

js文档生成成功!
-
« 上一篇:
未命名
-
jsDoc 使用及配置!
:下一篇 »